What we do

Pharma packaging

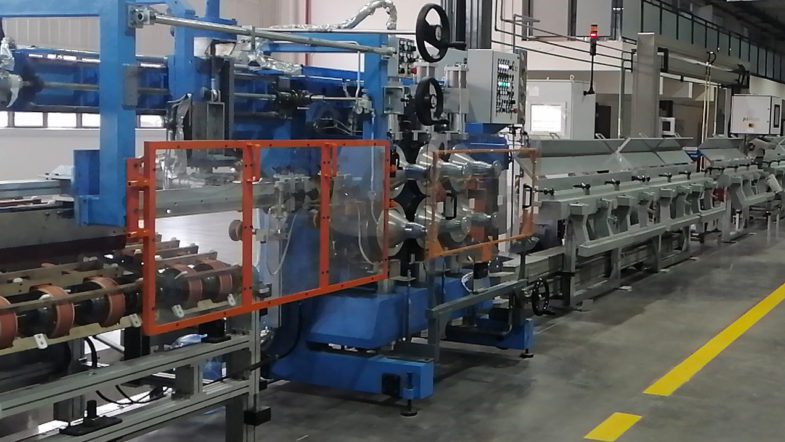
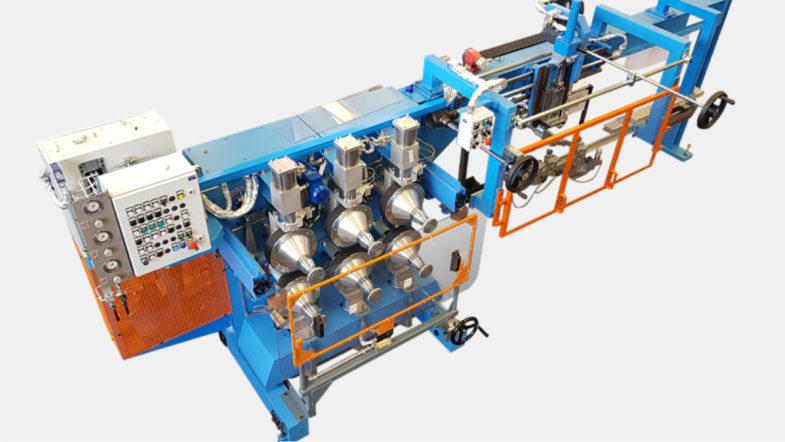
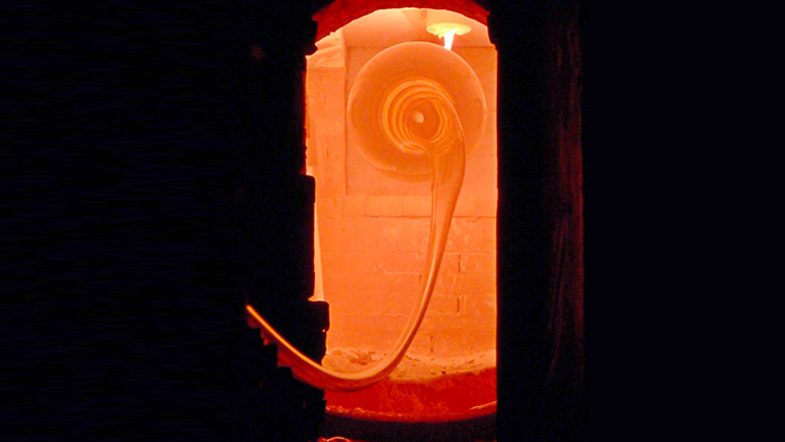
Complete Lines for Neutral Glass Tubes Manufacturing

In the last decade, Olivotto Glass Technologies has spent all its resources and efforts to propose to the market the Best Available Technology for the production of Tubes in neutral glass to be used in the Pharmaceutical Packaging industry.

From 2017 we are developing the Excellence Center for Pharmaceutical Packaging (ECP), in cooperation with the main producers of Converting machines for tubes conversions and with some selected Customers.
It is a Hub for PharmaPackaging, where all the STANDARDS to produce I class neutral borosilicate glass for this special application (from equipments to factory configuration to process control) are defined.

OGT can supply either single tubing lines for this scope or take care of the complete project, on “turn-key” basis.

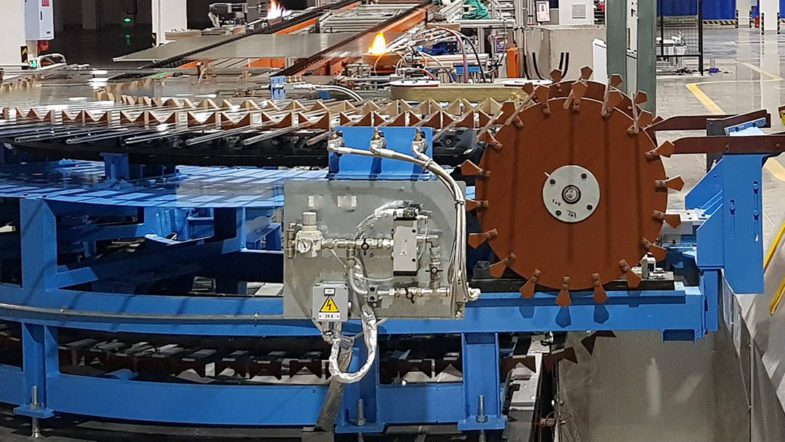
More than 30 lines installed in the last 10 years

Starting from the early 80’s, Olivotto Glass Technologies has developed and produced Glass Tubing Lines, using Both Danner and Vello technologies, gaining a leading position in this field with a great number of lines installed all over the world.
In the last 20 years OGT focuses all its resources specifically in the production of tubes in neutral borosilicate glass.
These tubes, made of this special glass, are used in the pharmaceutical packaging industry for the production of ampoules, vials, cartridges, syringes …

Our Lines can produce also:

Glass tubes for lightingwares (FTL and CFL)

Glass tubes for laboratory wares (chemical industry)

Glass rods

YOU WANT MORE INFORMATION? DON’T HESITATE TO CONTACT US

Main features

Complete electronic process control

Supervision for each production line (SCADA) and Machine Learning (A.I.) applied to the tubes production

Parameters and Recipes in dedicated menus with quick loading functions

Minimization of down-time for mandrel
changes: maximum 1 hour without production

User friendly HMI

In-line gauging systems for tube outer diameter, ovality, wall thickness and inner diameter (for sorting or blowing regulation)

Off-line gauging equipment to measure tube diameter, wall thickness, bow, siding and ovality, to be used in laboratory

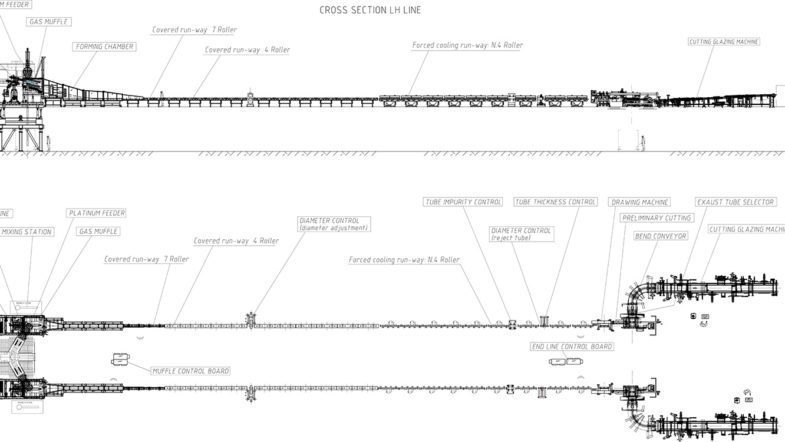
Standard configuration

Platinum Feeding System

Gas-heated muffle (either with lip-block or feeder technology)

Danner machine

Air blowing unit

Forming chamber

Cooling runway

Diameter gauging device for sorting and control

Tube drawing machine

Preliminary cutting device

Selecting unit

Crushing machine

Final cutting and glazing machine

Synchronization and control system

Option

Mandrel pre-heating muffle

Optical device to detect tubes physical defects (stones, cords…)

Diametes and wall thickness gauging device for sorting

Active data acquisition system

Off-line gauging system for statistical check of diameter, wall thickness, ovality, bow and siding

Full Automatic
Process Control

Automatic blowing system

On-line tube diameter gauging with Sorting

On-line tube thickness gauging with Sorting

On-line impurity detection with Sorting

Innovative system to check internal diameter with Sorting

Tube ends inspection with Sorting

Process control Pharma Packaging
Diameter gauging device

Diameter gauging device
(single and double axis)

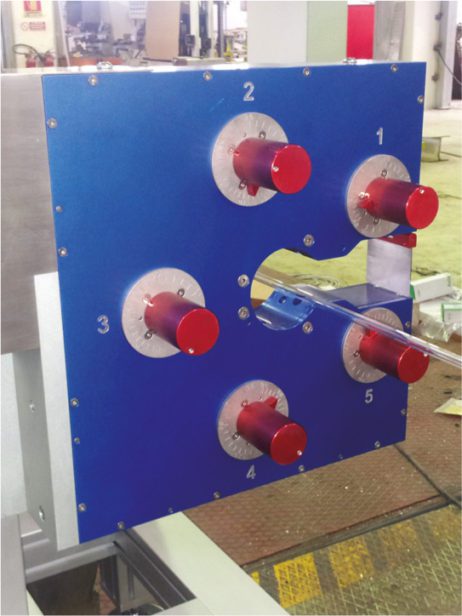
It is designed for continuous monitoring and gauging the tube diameter, through this dedicated detecting instrument. This instrument is composed by a laser transmitter and receiver, the laser array pass through the glass tube and can find the diameter of the tube. The signal coming from this instrument is used either for SETTING the blowing air and for SORTING the good and bad tubes. A dedicated Algorithm is able to define the range of tube diameters acceptable and the number of scans to be done along each tube.

Accuracy of the measurements:
external diameter: better than ±0.010 mm

Thickness gauging device

Thickness gauging device

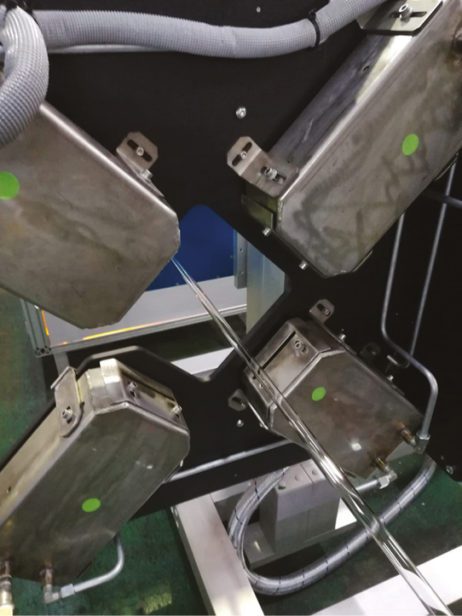
It is designed for continuous monitoring and gauging the tube wall thickness, through a dedicated detecting instrument. The equipment is based on multiple heads optical thickness sensor; the measuring principle is optical interferometry providing the best accuracy.
Multiple heads layout allows the measurements of wall thickness in 3 points equally spaced around the tube, and thus it exactly detects the centering of the tube. The supervisor software collects the measurements from all the heads and then calculates how much the wall of the tube is uniform or not and then how much OD and ID of the tube are centered. The signal is used for define the trend of the tube thickness as well as to sent the sorting unit for the selection of the good/bad tubes. The Thickness gauging device is placed on a steel framework that can be moved down and out of the tubing line by a pneumatic cylinder.

Accuracy of the measurements:
wall thickness: better than ±0.005 mm

Optical device for physical defects detection

Optical device for physical defects detection

It is designed for continuous gauging and monitoring the glass tube, through a dedicated
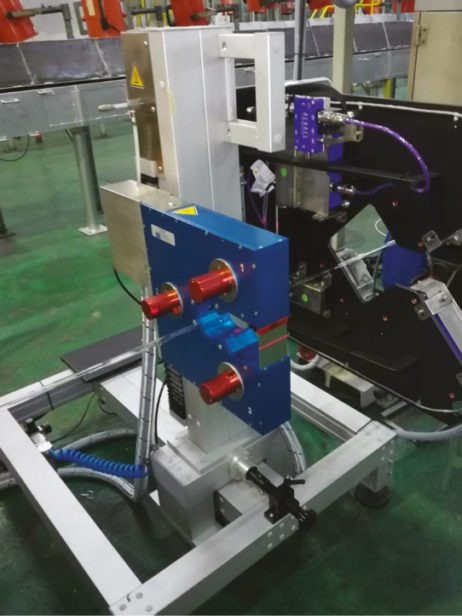
digital camera, to detect physical defects on the glass surface (i.e. stones, cords, air lines). The signal is sent to the sorting unit for the selection of the good/bad tubes. The dual axis optical inspection instrument is capable of monitoring moving material such as wire, tubes, fibers, or any object where flaw detection is of importance. It consists of a sensitive electronics unit and a fiber optic detector head available in a dual axis configuration.

Accuracy of detections:
defect size: down to 0.025 mm
defect length: down to 0.5 mm